Camp Chef Woodwind Pro 24 – first impressions

I couldn’t contain my excitement when I discovered that the newest Camp Chef Woodwind Pro had finally made its way to Canada. After an arduous search, I managed to get my hands on one, and it was an unboxing experience like no other. Although the grill came pre-assembled, I watched the official assembly video beforehand (link: https://www.youtube.com/watch?v=IS4VP7QupQ8&ab_channel=CampChef), just in case I needed to disassemble it for transportation. As luck would have it, I had to take it apart and put it back together at home. Reassembling the 24-inch beast was surprisingly easy, even as a solo endeavor. The only challenge was finding a tall enough chair to place the hopper on, allowing me to smoothly slide the firebox from the hopper side into the main grill.

This review reflects my initial impressions, and I will provide a more detailed review after conducting several more cooks.

Unboxing and Assembly

Once the assembly was complete, I found myself hesitant to fire it up for the initial burn, knowing that it would never look this pristine again. I couldn’t resist capturing the moment and ended up taking an entire album of photos to commemorate the occasion.

Impressive Features

The Woodwind Pro boasts several new features that truly won me over:

  1. High-Quality Build: From its stainless steel construction to the double-walled door and additional gasket around it, this grill is built to last.
  2. Versatile Smoke Box: The new smoke box allows for a variety of smoking options. Whether it’s adding charcoal, wood chunks, wood chips, or pellets, you can easily customize your smoke flavors.
  3. Cold Smoking Capability: As someone who frequently smokes Gouda and Cheddar, the ability to cold smoke is a game-changer. The fan-only mode opens up possibilities, and I’m excited to experiment with the smoke tube, smoke box, or both!
  4. Upgraded Vents: Instead of the traditional chimney, the Woodwind Pro features two vents at the back, providing better control over airflow and temperature.
  5. Convenient Ash Clean Out: With the inclusion of an ash cleanout cup, maintaining cleanliness is a breeze, eliminating the need for constant ash vacuuming.

Room for Improvement

While the Woodwind Pro exceeded my expectations in many areas, there were a couple of minor drawbacks:

  1. Wi-Fi Functionality Limitation: The grill’s app allows you to make temperature adjustments, control smoke levels, and turn off the grill, but disappointingly, it lacks the ability to turn on the grill remotely.
  2. Pellet Cone of Death: Although the hopper’s window was a nice addition, my first cook encountered a common issue known as the “cone of death,” where the pellets feed down the auger in the center but get stuck around the sides.
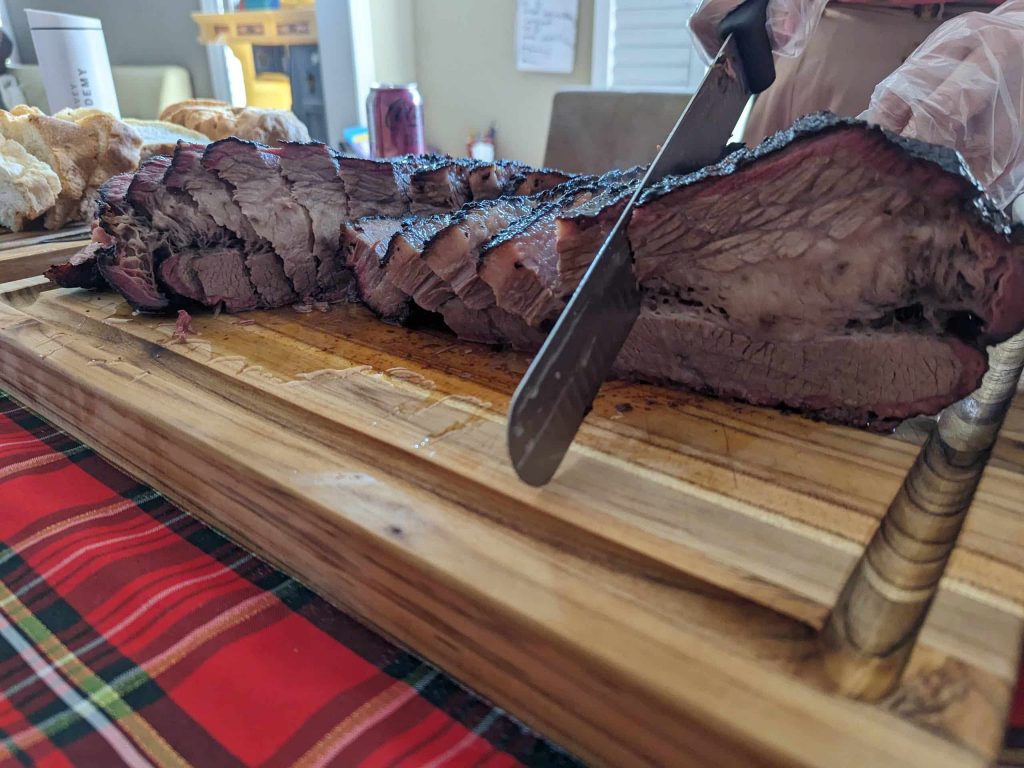
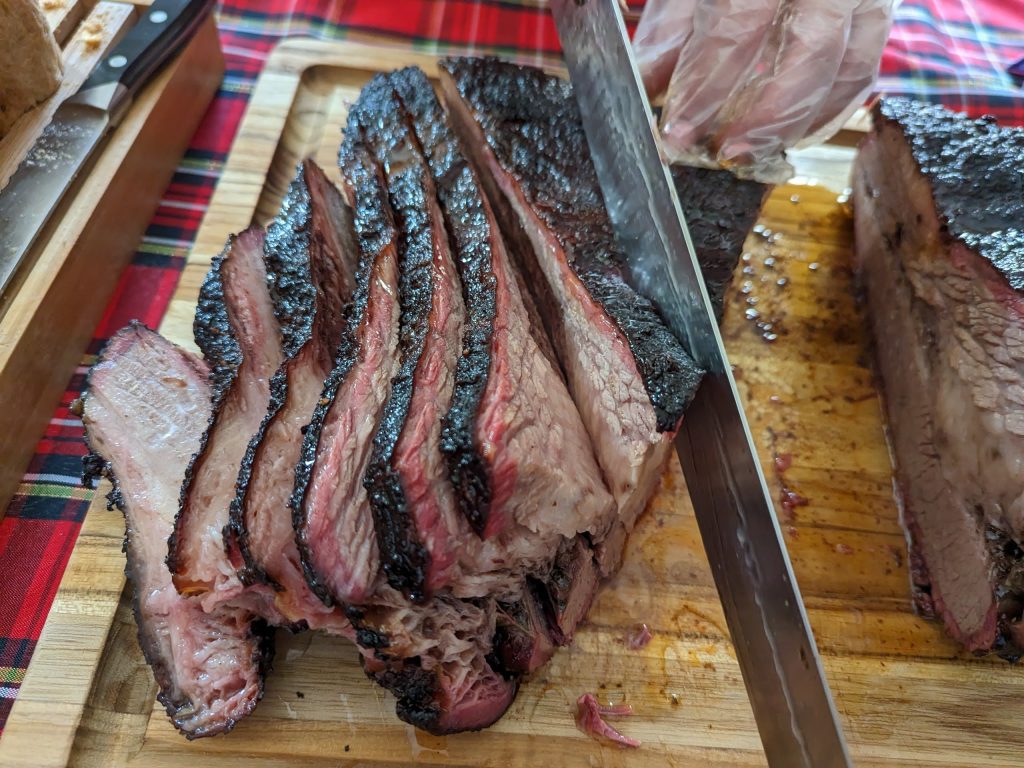
  3. Split Upper Level Racks: The upper-level racks had a tendency to shift, which posed a slight challenge when maneuvering heavy briskets.

Conclusion

This review is based on my initial experiences with the Camp Chef Woodwind Pro. I plan to conduct several more cooks and delve deeper into its capabilities before providing a comprehensive review. However, based on my initial impressions, the Woodwind Pro has proven to be an exceptional addition to my smoking arsenal. Its exceptional build quality, versatile smoking options, and convenient features make it a top contender in the world of pellet grills.

Stay tuned for my in-depth review where I will share detailed insights, tips, and recipes to make the most of this remarkable grill. In the meantime, remember to share your experiences and tips in the comments below! Happy grilling!

Exploring Different Techniques for Char Siu

Welcome to my culinary sanctuary, where I uncover the exquisite nuances of char siu. With each dish I create, I strive to unlock the secrets behind its tantalizing flavors. In this exploration, I’ve discovered that rotisserie-cooked char siu over charcoal, complemented by a touch of hickory, presents an unparalleled culinary experience. While this technique works wonders for smaller portions, I’ve yearned to conquer the challenge of preparing char siu in larger quantities. Join me as we delve into the artistry behind this beloved dish and unveil its true potential.


Rotisserie is the best!

Experiment 1: Low and Slow Sensations In my pursuit of char siu perfection, I embarked on a traditional approach—a slow and gentle process. Cooking the char siu on a rotisserie over charcoal at a mild temperature of 200°F, I allowed it to bathe in flavors for a generous 3-4 hours. A brief sear over the charcoal completed the transformation, capturing the essence of smoky goodness. While this method demands patience and precision, each turn and spritz with apple cider vinegar resulted in a captivating smoke ring. Although the texture leaned slightly towards the drier side, the flavors remained a captivating medley of taste.

Experiment 1 – slow smoked

Experiment 2: Embracing the Flames Driven by the pursuit of succulence, I turned up the heat for my next endeavor. Employing a higher temperature of 350°F, I aimed for a shorter cooking time of 35-45 minutes, ensuring the internal temperature reached around 155°F. Dancing over the charcoal, the flames imbued the char siu with irresistible tenderness and moisture. Although the charcoal sear may not have been as pronounced due to settling flames, I considered the possibility of broiling the char siu in the oven for larger-scale production. This time, I experimented with apple wood pellets, infusing a delicate hint of fruitiness into the succulent meat. Future experiments hold the promise of exploring diverse combinations of hickory and apple wood to uncover new dimensions of flavor.

Experiment 2 – fast smoke, then char

Experiment 3: The Beauty of Simplicity Sometimes, the simplest approach can yield culinary marvels. In my quest for convenience without compromising taste, I ventured into the realm of charcoal kettle cooking. Operating at approximately 375°F, the char siu cooked indirectly in the kettle for 35-45 minutes. The result? A splendidly cooked, flavorsome delight. While this method may lack the distinctive smokiness of previous techniques, a quick sear over the charcoal added an enticing charred essence to the dish.

Experiment 3 – indirect, then char over charcoal

Each experiment has been a remarkable journey of culinary discovery, revealing the distinct qualities of various cooking methods. While each approach has its merits, I personally find myself drawn to Experiment 2. Its high heat intensity delivers a perfect balance of speed and flavor, allowing me to create delectable char siu in larger quantities without compromising on taste. This method showcases the epitome of tenderness and succulence, enticing even the most discerning palates. As I navigate the captivating realm of char siu, I eagerly embrace the possibilities that lie ahead—exploring different wood combinations, refining marinating techniques, and embracing diverse cooking styles. Together, let’s embark on a culinary odyssey, unlocking an extraordinary palette of flavors and taking our char siu experience to new heights.

From left the right, experiments 1, 2 and 3